本文主要介绍:SpringBoot开发中如何自定义starter
1.什么是starter
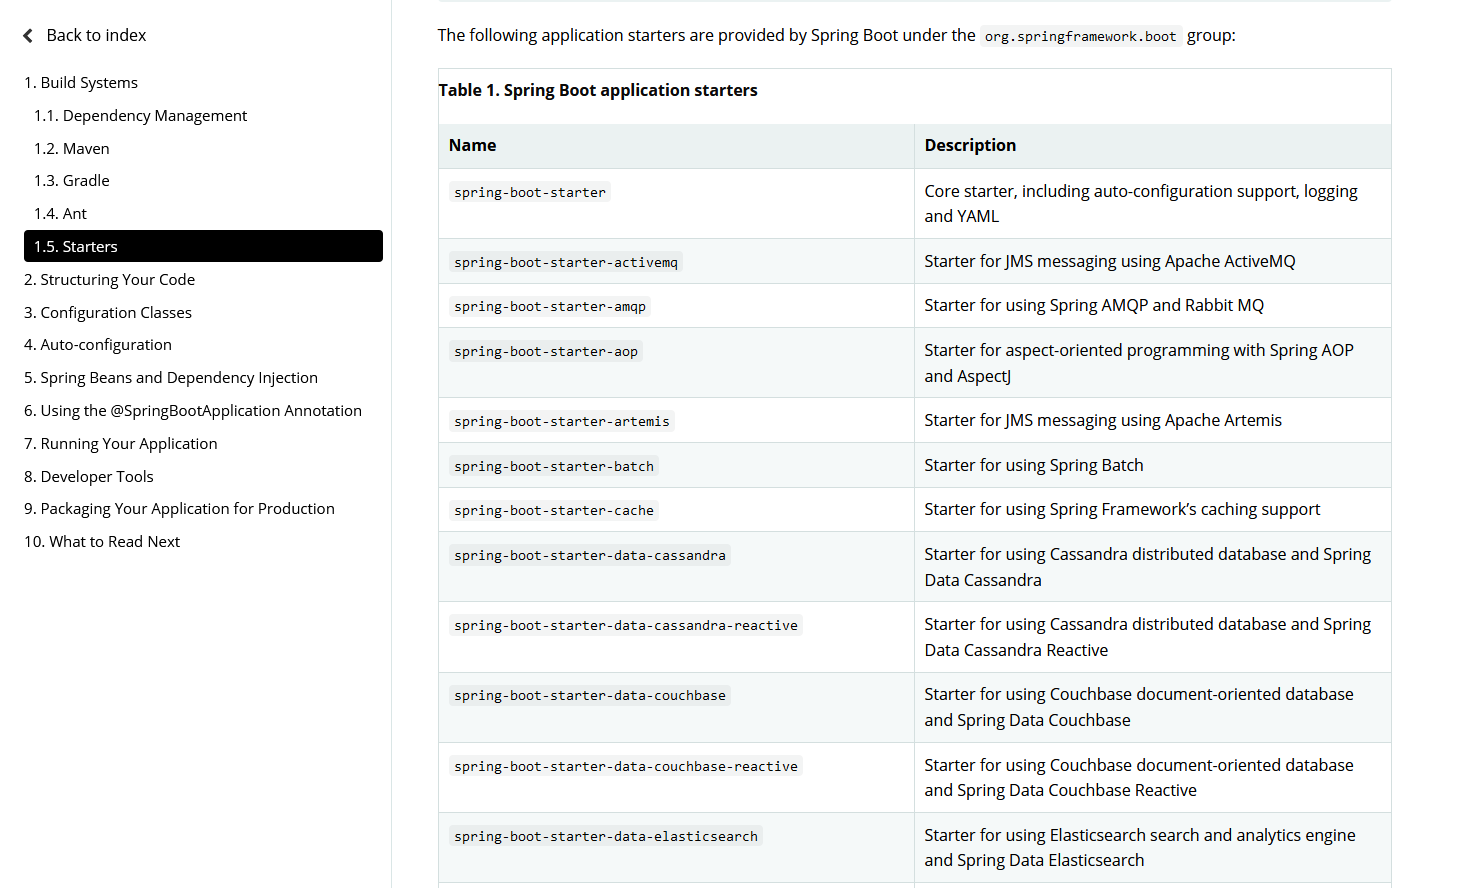
Starter可以理解为一个可拔插式的插件,提供一系列便利的依赖描述符,您可以获得所需的所有Spring和相关技术的一站式服务。应用程序只需要在maven中引入starter依赖,SpringBoot就能自动扫描到要加载的信息并启动相应的默认配置。用一句话描述,就是springboot的场景启动器。
下面是Spring官方提供的部分starter,全部的请参考官网:starter文档
开始自定义starter前看看Springboot的AutoConfiguration机制。
2.Spring boot的AutoConfiguration机制
标记一个应用为Springboot应用,需要一个SpringBootApplication注解,下面是一个标准的spring boot启动程序。
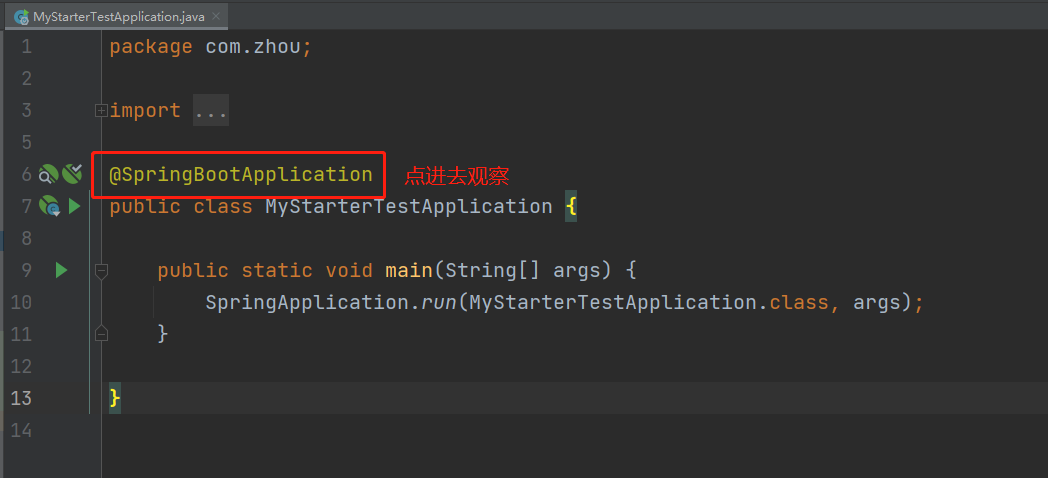
点进去看源码发现,SpringBootApplication注解又被一个EnableAutoConfiguration注解。EnableAutoConfiguration注解就是自动加载配置的关键。

EnableAutoConfiguration是一个组合注解,用Import把AutoConfigurationImportSelector导入容器中,springboot启动的时候会加载所有的selector并执行selectImports方法,这个方法会加载META-INF/spring.factories中配置的EnableAutoConfiguration,从而加载自动配置。

3.自定义starter
首先:编写启动器
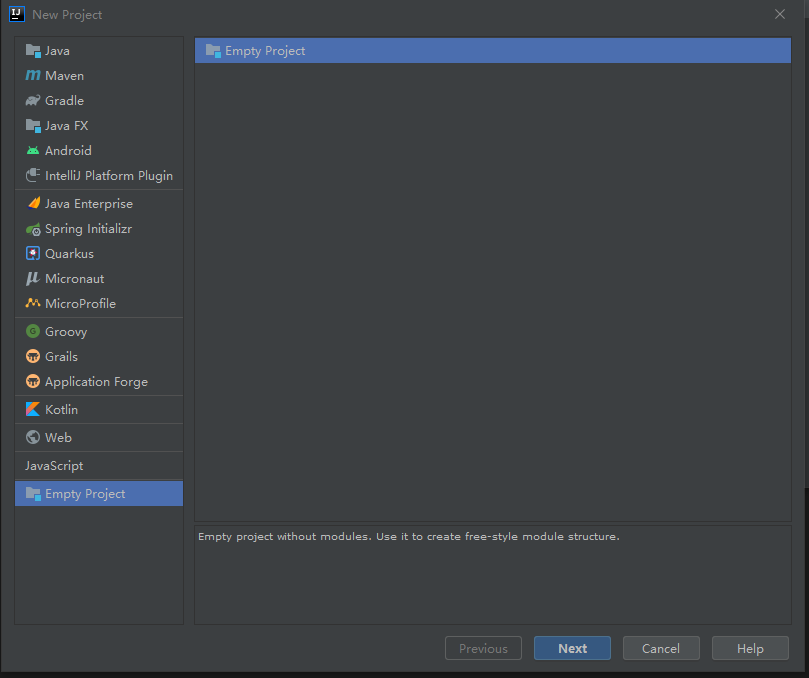
1.在IDEA中新建一个空项目:mystarter
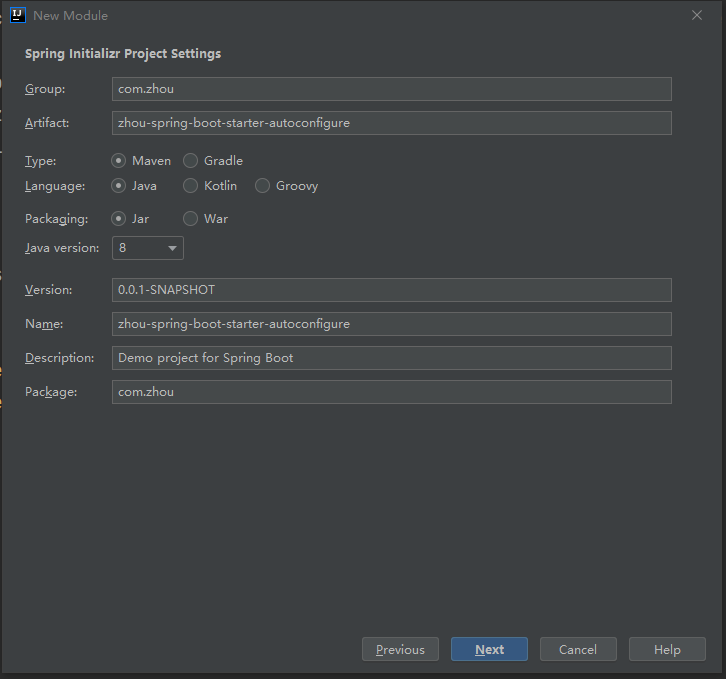
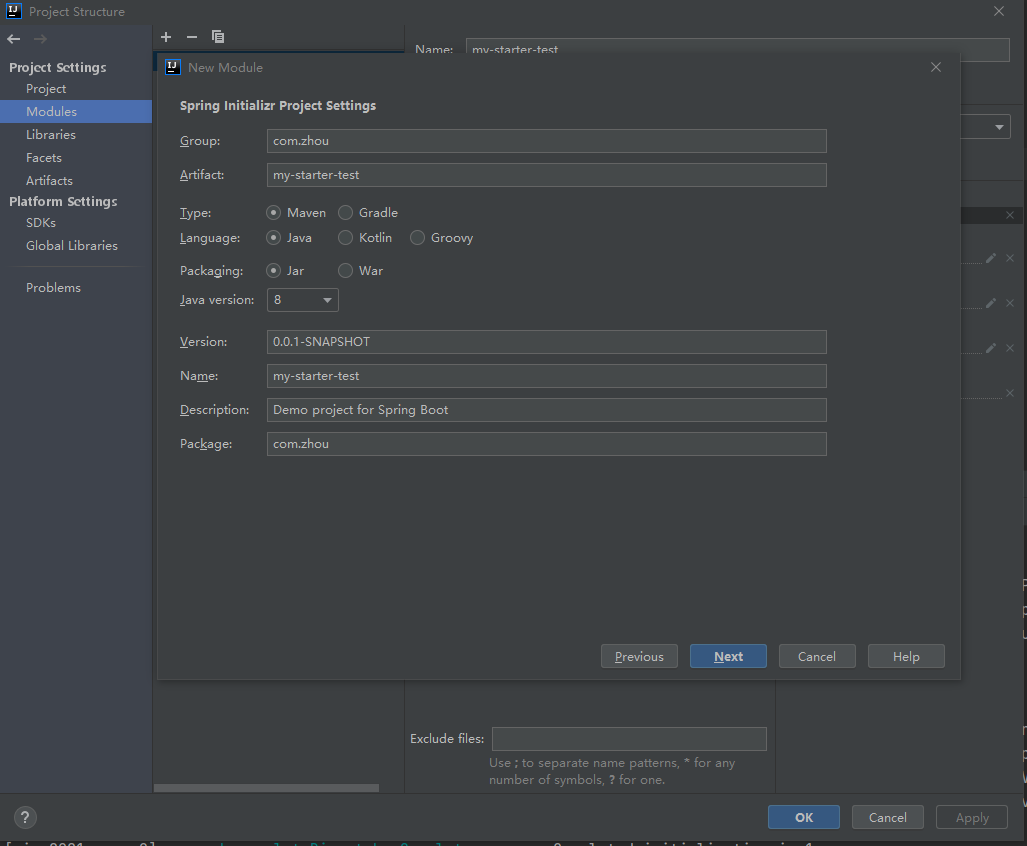
2、新建一个Springboot模块:zhou-spring-boot-starter-autoconfigure
3.新建一个Springboot模块:my-starter-test
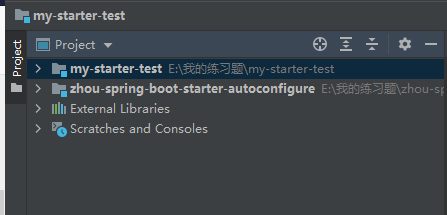
4.基本结构如下:
第二步:编写模块:zhou-spring-boot-starter-autoconfigure
1.导入pom依赖
<dependencies> <dependency> <groupId>org.springframework.boot</groupId> <artifactId>spring-boot-starter</artifactId> <version>2.4.3</version> </dependency> <dependency> <groupId>org.springframework.boot</groupId> <artifactId>spring-boot-configuration-processor</artifactId> <optional>true</optional> </dependency> <dependency> <groupId>org.springframework.boot</groupId> <artifactId>spring-boot-starter-web</artifactId> </dependency> <dependency> <groupId>org.junit.jupiter</groupId> <artifactId>junit-jupiter-api</artifactId> <version>5.5.0</version> <scope>test</scope> </dependency> <dependency> <groupId>org.springframework.boot</groupId> <artifactId>spring-boot-test</artifactId> <version>2.4.3</version> </dependency> </dependencies>2.定义配置类:HelloProperties类,添加注解@ConfigurationProperties(prefix = "zhou.hello")

package com.zhou;import org.springframework.boot.context.properties.ConfigurationProperties;//编写HelloProperties 配置类//前缀 zhou.hello@ConfigurationProperties(prefix = "zhou.hello")public class HelloProperties { private String prefix; private String suffix; public String getPrefix() { return prefix; } public void setPrefix(String prefix) { this.prefix = prefix; } public String getSuffix() { return suffix; } public void setSuffix(String suffix) { this.suffix = suffix; }}3.创建一个自己的服务类:HelloService类
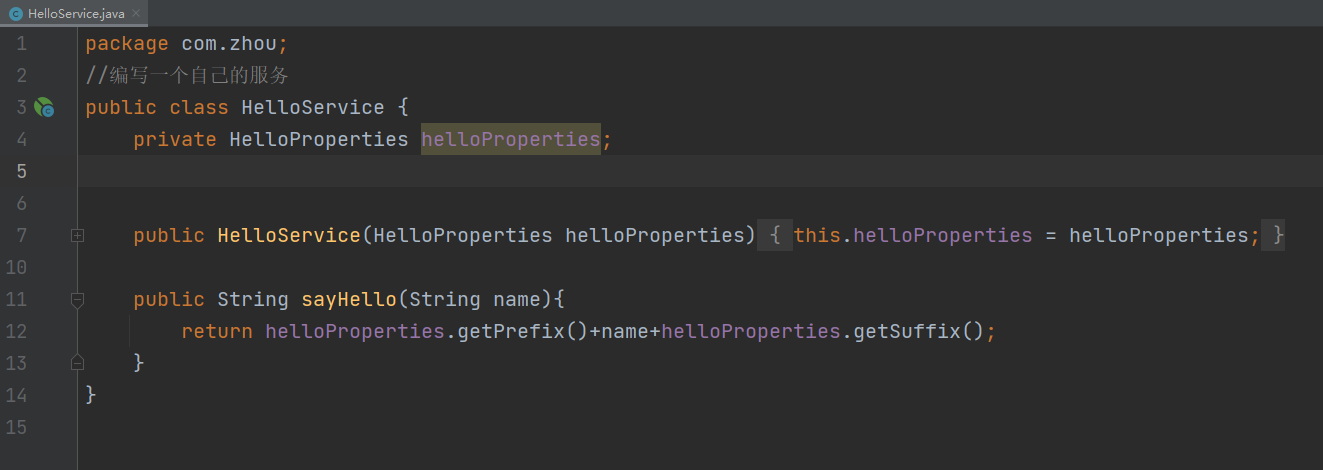
package com.zhou;//编写一个自己的服务public class HelloService { private HelloProperties helloProperties; public HelloService(HelloProperties helloProperties) { this.helloProperties = helloProperties; } public String sayHello(String name){ return helloProperties.getPrefix()+name+helloProperties.getSuffix(); }}4.创建Configuration类:HelloServiceAutoConfiguration类,添加注解@Configuration和@EnableConfigurationProperties,把当前类设置成配置类,并且注入HelloProperties。
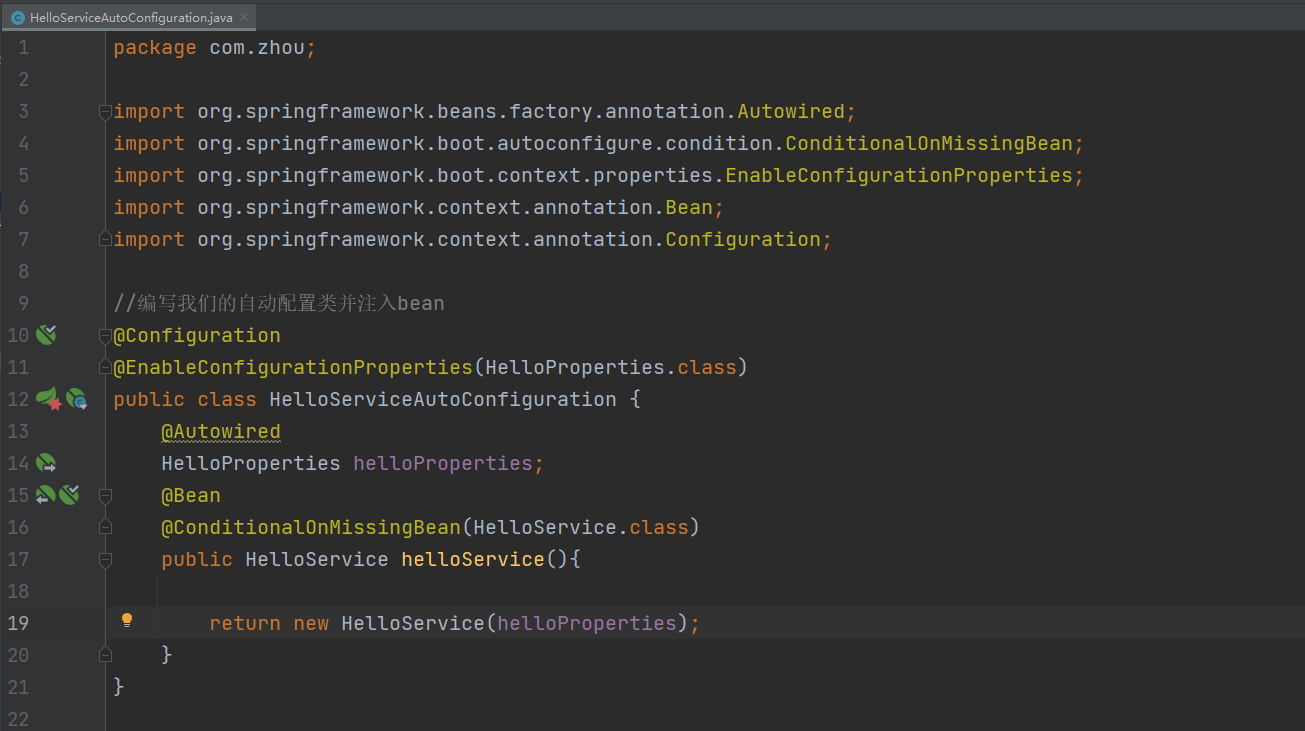
package com.zhou;import org.springframework.beans.factory.annotation.Autowired;import org.springframework.boot.autoconfigure.condition.ConditionalOnMissingBean;import org.springframework.boot.context.properties.EnableConfigurationProperties;import org.springframework.context.annotation.Bean;import org.springframework.context.annotation.Configuration;//编写我们的自动配置类并注入bean@Configuration@EnableConfigurationProperties(HelloProperties.class)public class HelloServiceAutoConfiguration { @Autowired HelloProperties helloProperties; @Bean @ConditionalOnMissingBean(HelloService.class) public HelloService helloService(){ return new HelloService(helloProperties); }}5.重要的一步,在resources目录下创建META-INF目录,并添加文件spring.factories。在这个文件中配置EnableAutoConfiguration,具体如下:
org.springframework.boot.autoconfigure.EnableAutoConfiguration=\com.zhou.HelloServiceAutoConfiguration6.避免端口冲突(不想干掉Tomcat端口号)

7.编写完成后,可以安装到maven仓库中!
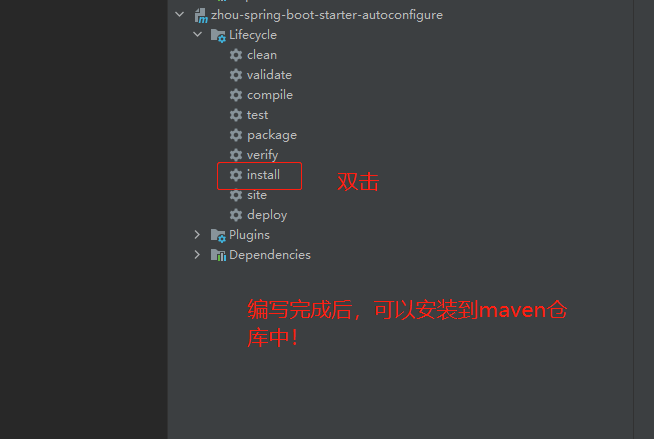
模块:zhou-spring-boot-starter-autoconfigu的整体结构如下:

第三步:模块:my-starter-test(测试自定义的Starter)
1.pom文件添加刚刚创建好的依赖:
<dependency> <groupId>com.zhou</groupId> <artifactId>zhou-spring-boot-starter-autoconfigure</artifactId> <version>0.0.1-SNAPSHOT</version></dependency>2.在application.properties文件中添加自定义前缀/后缀:
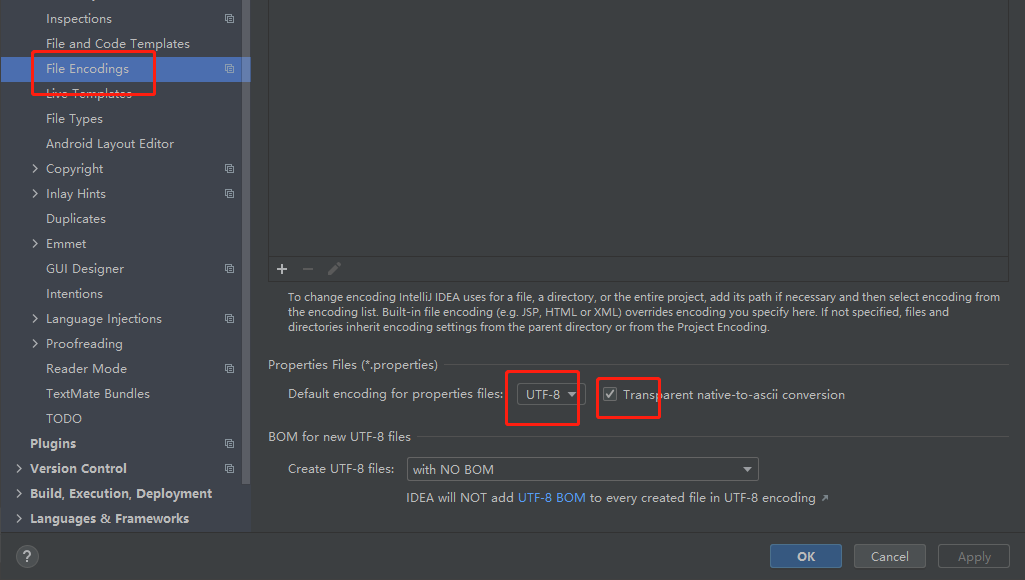
zhou.hello.prefix="你好呀,"zhou.hello.suffix="成了~"【注意】.properties文件会出现中文会乱码问题。
第一种解决办法:
第二种解决办法:将application.properties文件替换成application.yaml
zhou.hello.prefix: 你好呀,zhou.hello.suffix: 成了~
3.创建一个Controller,把HelloService注入进来
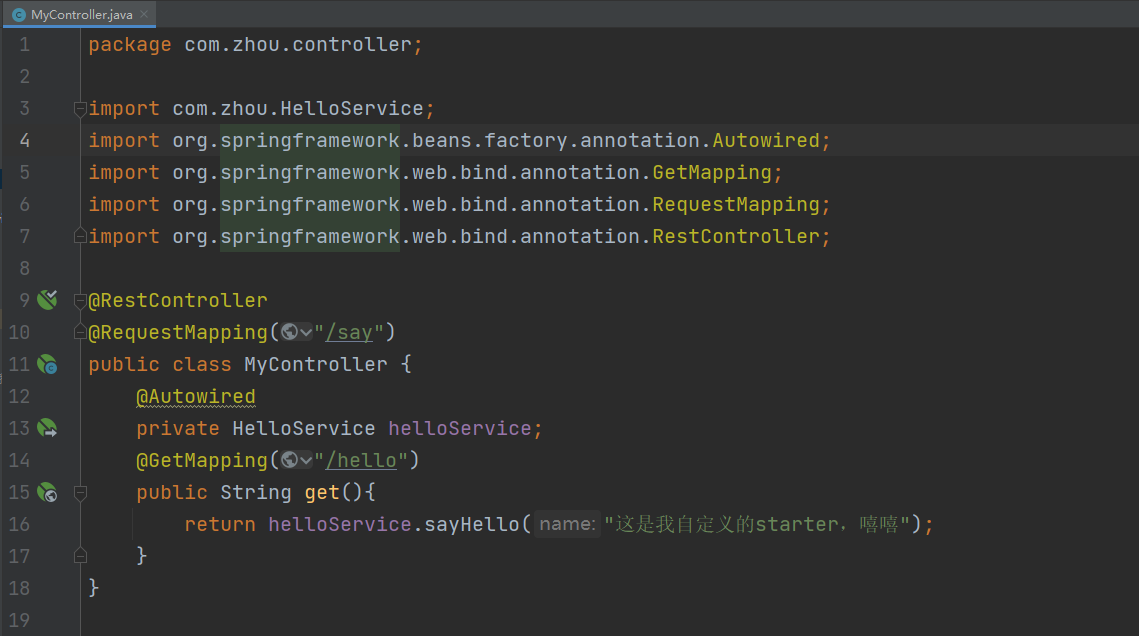
package com.zhou.controller;import com.zhou.HelloService;import org.springframework.beans.factory.annotation.Autowired;import org.springframework.web.bind.annotation.GetMapping;import org.springframework.web.bind.annotation.RequestMapping;import org.springframework.web.bind.annotation.RestController;@RestController@RequestMapping("/say")public class MyController { @Autowired private HelloService helloService; @GetMapping("/hello") public String get(){ return helloService.sayHello("这是我自定义的starter,嘻嘻"); }}4.启动,测试
Run:

访问:
原文转载:http://www.shaoqun.com/a/642731.html
zappos.com:https://www.ikjzd.com/w/330
dmm杂志:https://www.ikjzd.com/w/2026
本文主要介绍:SpringBoot开发中如何自定义starter1.什么是starterStarter可以理解为一个可拔插式的插件,提供一系列便利的依赖描述符,您可以获得所需的所有Spring和相关技术的一站式服务。应用程序只需要在maven中引入starter依赖,SpringBoot就能自动扫描到要加载的信息并启动相应的默认配置。用一句话描述,就是springboot的场景启动器。下面是Spr
网上1号店:https://www.ikjzd.com/w/2263
转运中国:https://www.ikjzd.com/w/1549
壹米滴答:https://www.ikjzd.com/w/2314
时尚品类逆势增长175%销售额?看别人家是如何在亚马逊欧洲站出奇制胜?:https://www.ikjzd.com/home/132642
悲喜交加!亚马逊listing无故恢复可售,秒杀推荐突然消失?:https://www.ikjzd.com/home/8693
人民日报头版头条:我国外贸势头好动能足 :https://www.ikjzd.com/home/91397
No comments:
Post a Comment